There is no mains drainage available at the site so the plan has always been to use a small sewage treatment plant for the new house and to install this early so it can also be used by the static caravan during construction. The old house had a traditional brick septic tank, discharging into the field drainage ditch, but this was well past its best and those old septic systems designs simply cannot match the treatment quality of modern systems.

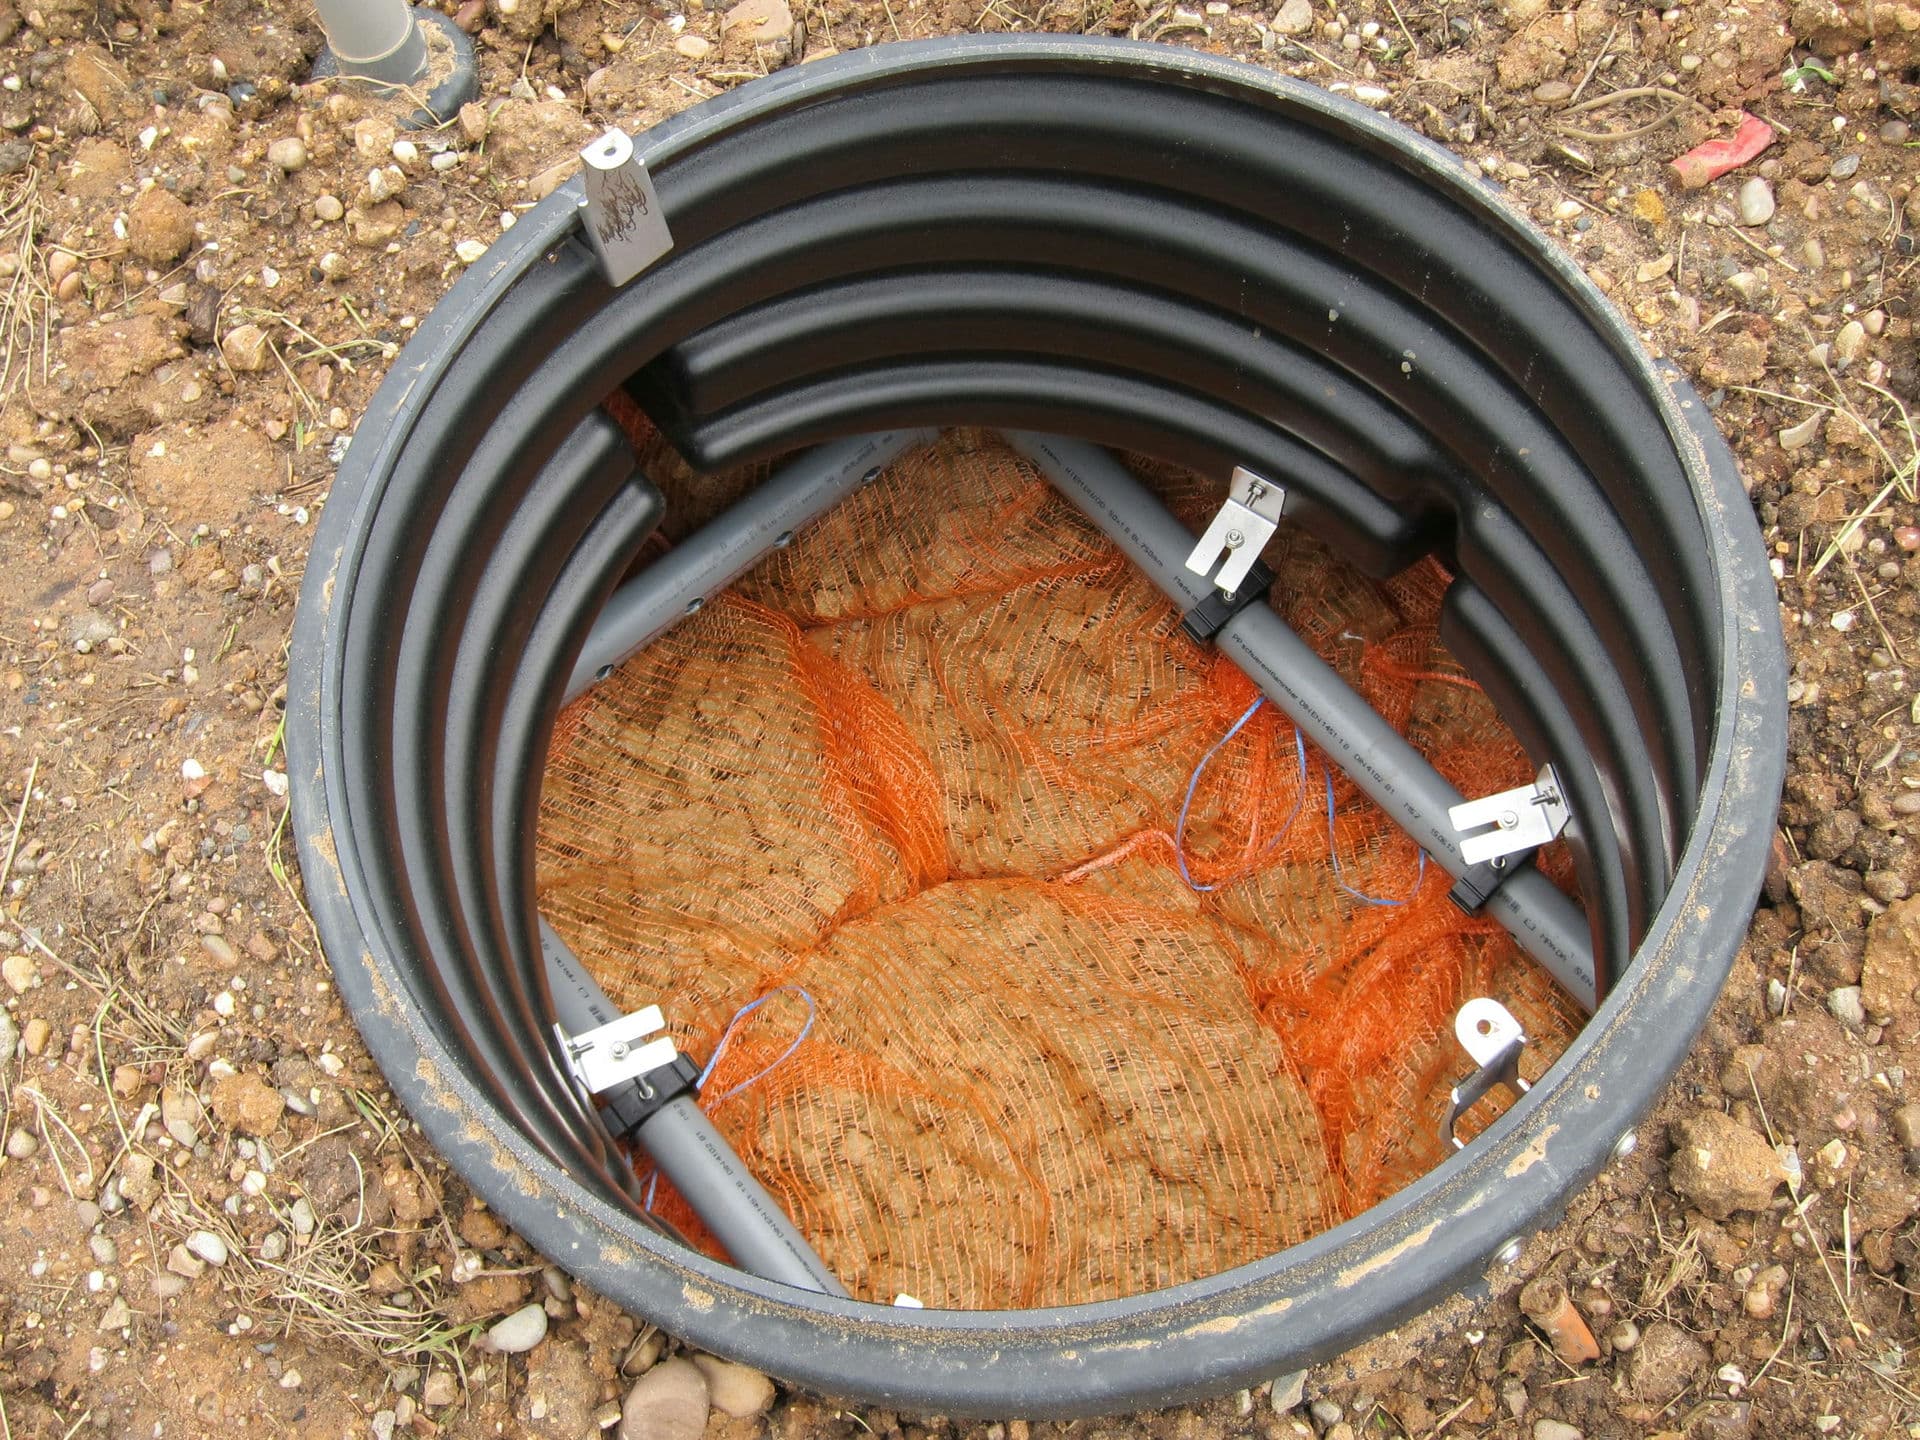
Some time ago I settled on using a BIOROCK sewage treatment system. These are one of a handful of designs that don’t require an electricity supply: most other systems rely on either an aeration pump or rotating discs to treat the effluent whereas the BIOROCK sewage plant relies on natural ventilation of a treatment unit with aerobic bacteria hosted on a stack of foam cubes contained in string bags. While a BIOROCK unit is a little bit more expensive than the alternatives the zero electricity cost offsets the higher purchase price relatively quickly and the sheer simplicity of the system is very appealing.
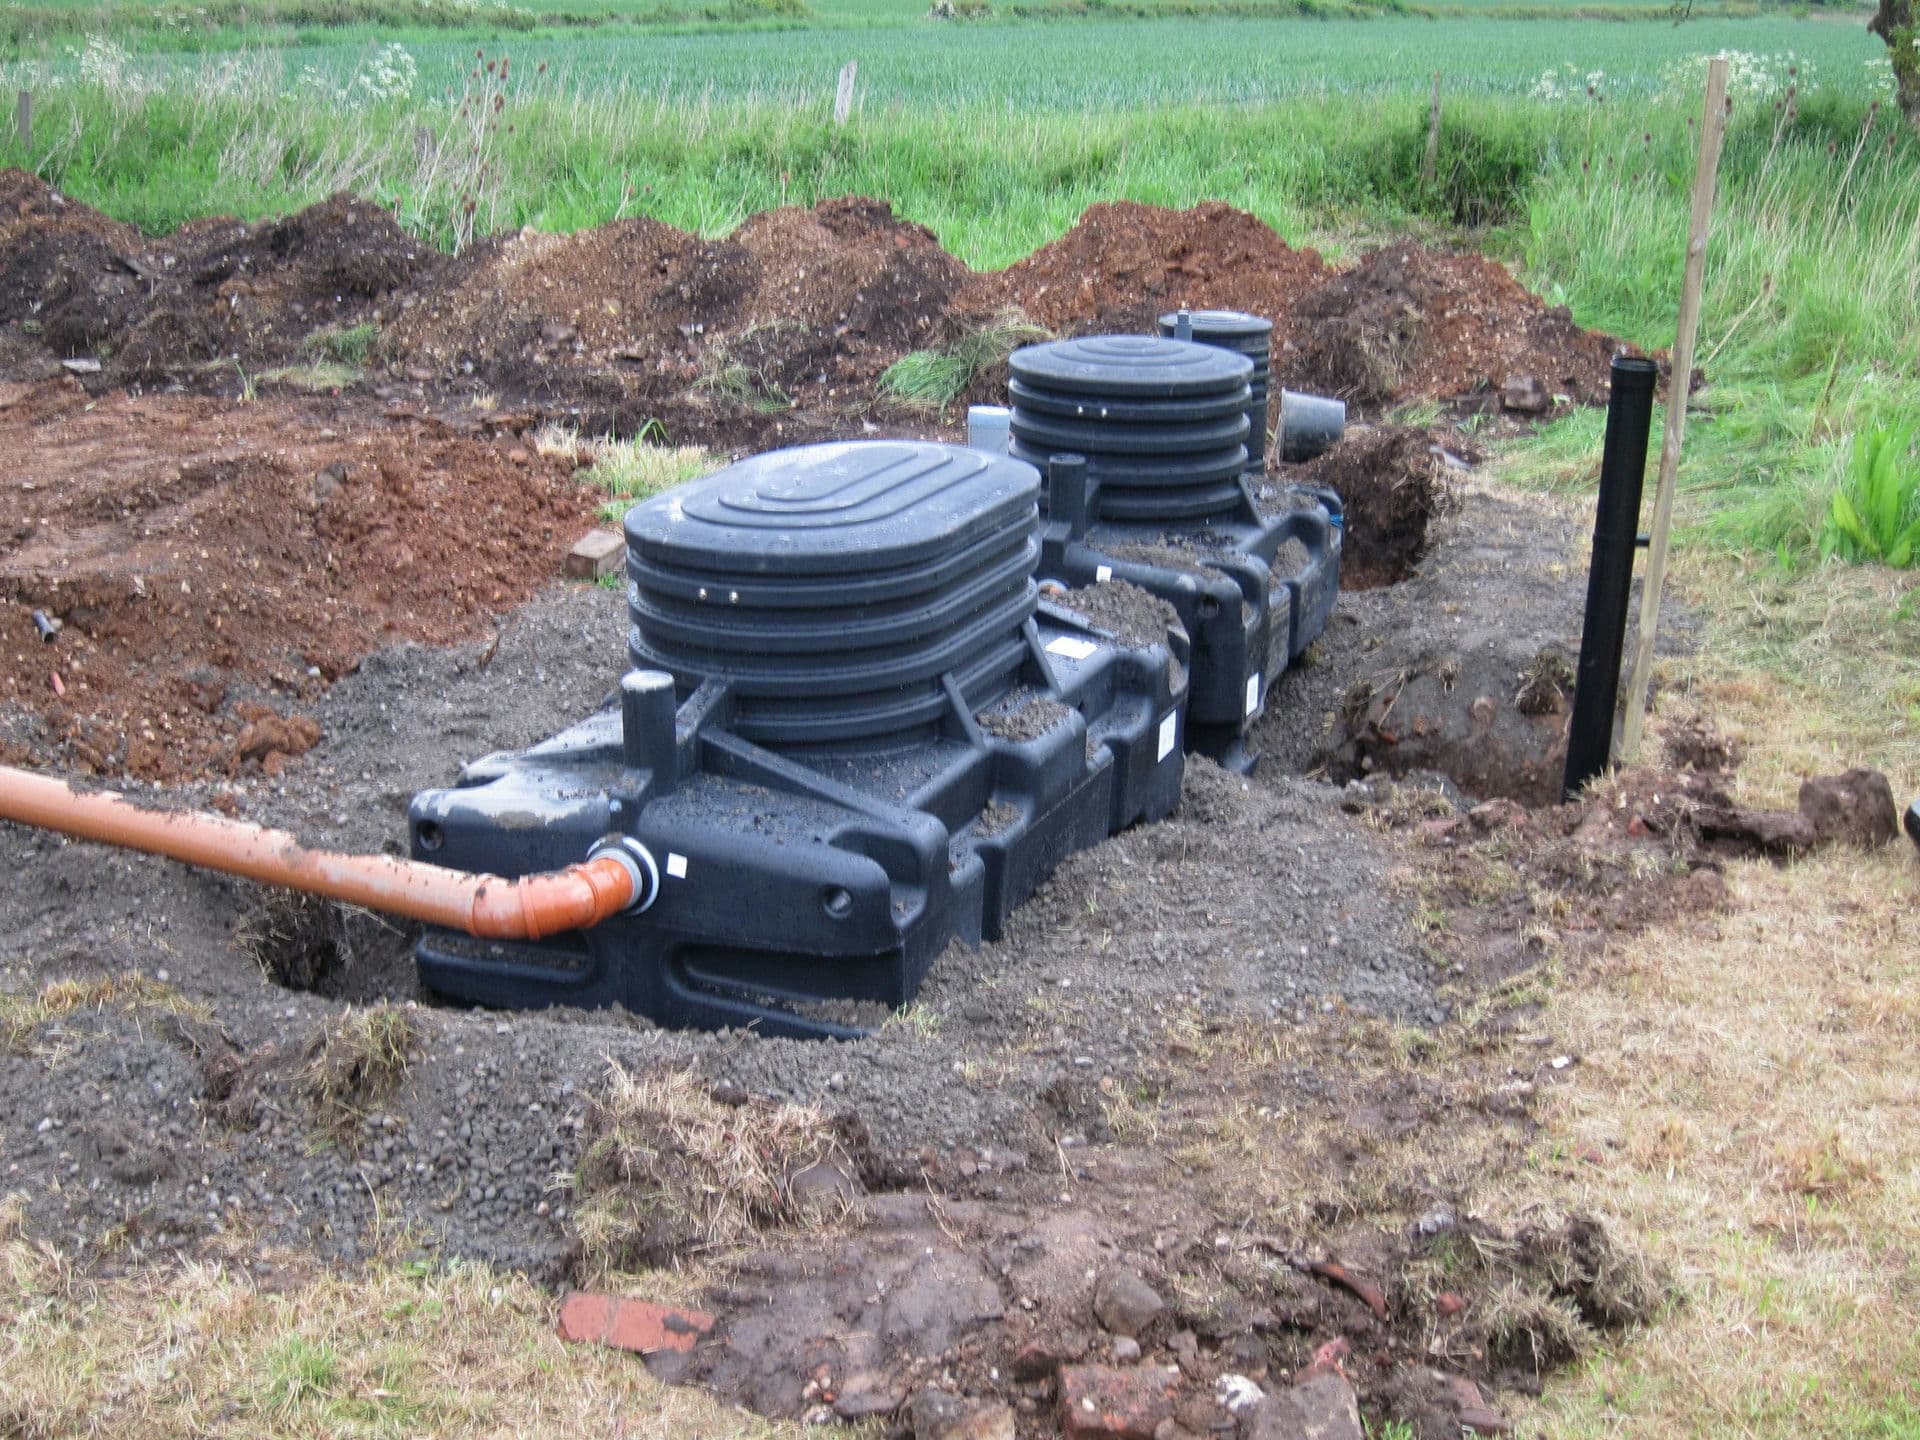
Upstream of the main BIOROCK wastewater treatment unit there’s a separate, large settlement tank (septic tank) divided into two sub-chambers with a brush filter on the outlet which keeps solid matter out of the BIOROCK unit itself. Downstream of the BIOROCK there’s a small vertical access shaft for sampling the final discharge quality or, if necessary, for installing a pump to raise the treated effluent to a higher level. One characteristic of the BIOROCK septic system is that the main treatment chamber is relatively dry, holding just a shallow layer of water at the bottom, and as a result, the outlet is 1.15m below the inlet and the outlet must be allowed to drain freely. On a flat site, this means a pump is often required whereas on a sloping site it can be possible to do everything by gravity. On my site it proved just possible to arrange for a gravity outfall to the same drainage ditch used by the old septic tank, though some of the pipe runs are at the minimum permitted gradient (1:200 for treated effluent), and the BIOROCK unit needed to be located with the top roughly 0.8m above the current ground level in its immediate vicinity. The ground level will be raised later as part of the site landscaping scheme.
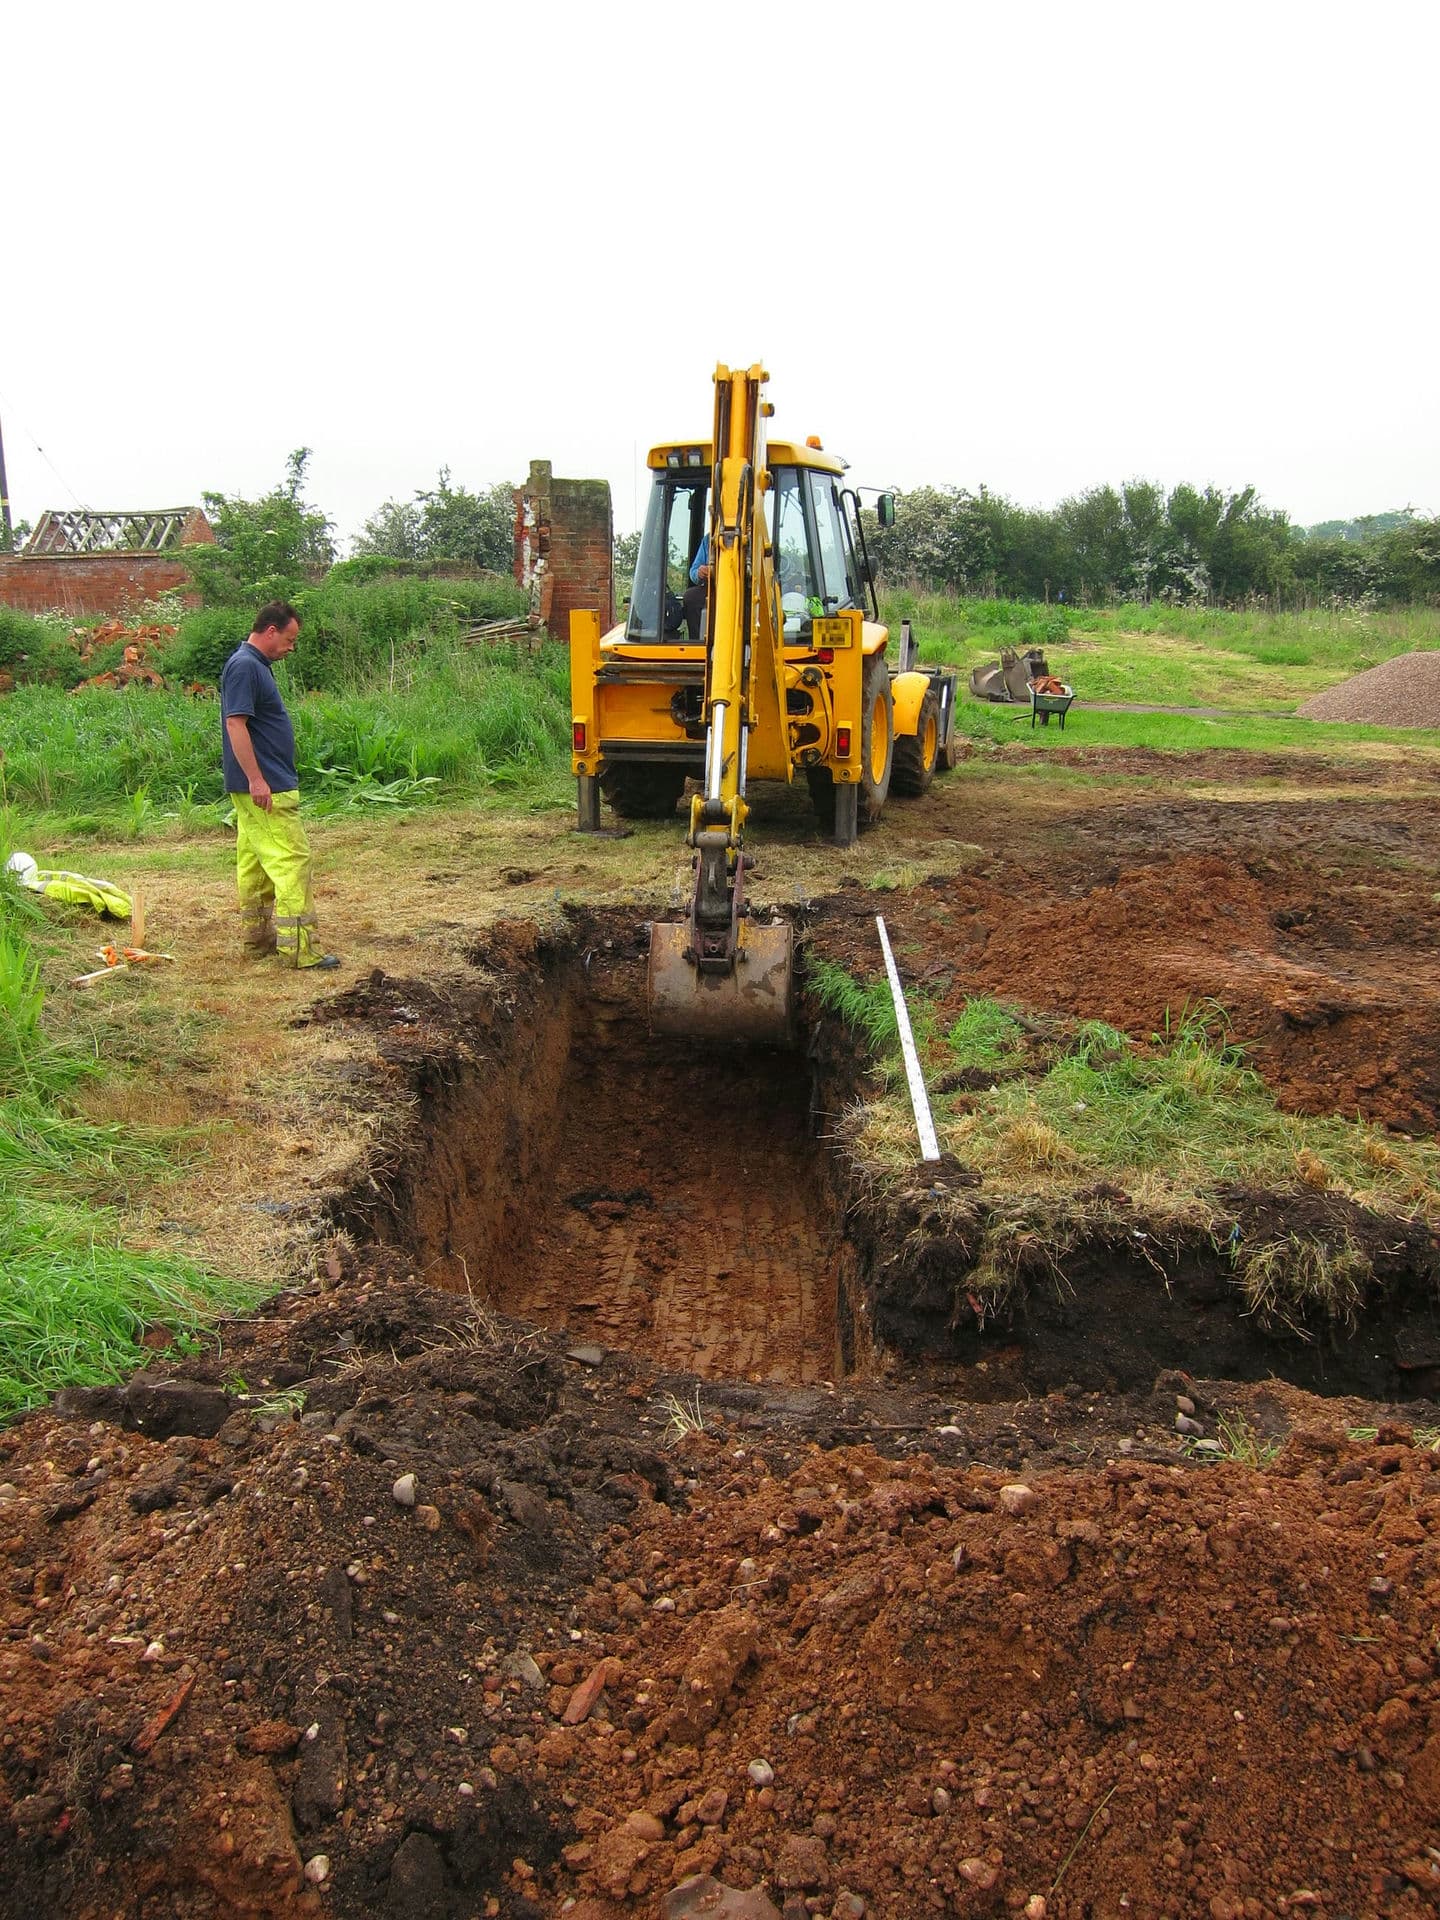
I wanted to ensure the installation was done correctly. BIOROCK UK recommended Mike Welton of Welton Environmental and Mike did a great job, installing the tanks and about 50m of inlet and outlet pipework in 3 days with just the help of a good local JCB and operator.
Different sizes of BIOROCK units are available to cater for different sizes of dwelling, based on the “Population Equivalent” (PE) definitions of e.g. the British Water standards. The smallest 5 PE unit is suitable for a 3-bedroom house, but since my house will have more bedrooms than that I needed the next size up, the 10 PE, which is good for up to 8 bedrooms. This is paired with a 3,300-litre primary tank, and then although I don’t (currently) need to pump the outlet it seemed like good insurance to install the 400mm diameter “pump shaft” rather than the 160mm diameter “sampling tube” just in case a pump is required to help the flow along at a later date.
With the tanks raised out of the ground more than would be normal on most sites, they didn’t require too deep a hole and the ground conditions were good.
Due to a couple of hiccups with deliveries (the first primary tank had a hole in it but BIOROCK UK managed to ship a replacement overnight, and then the concrete plant sent a regular wet mix rather than the requested dry mix which took 3 hours to correct), I wasn’t able to be present for the actual installation but I took photos once I got back from work.

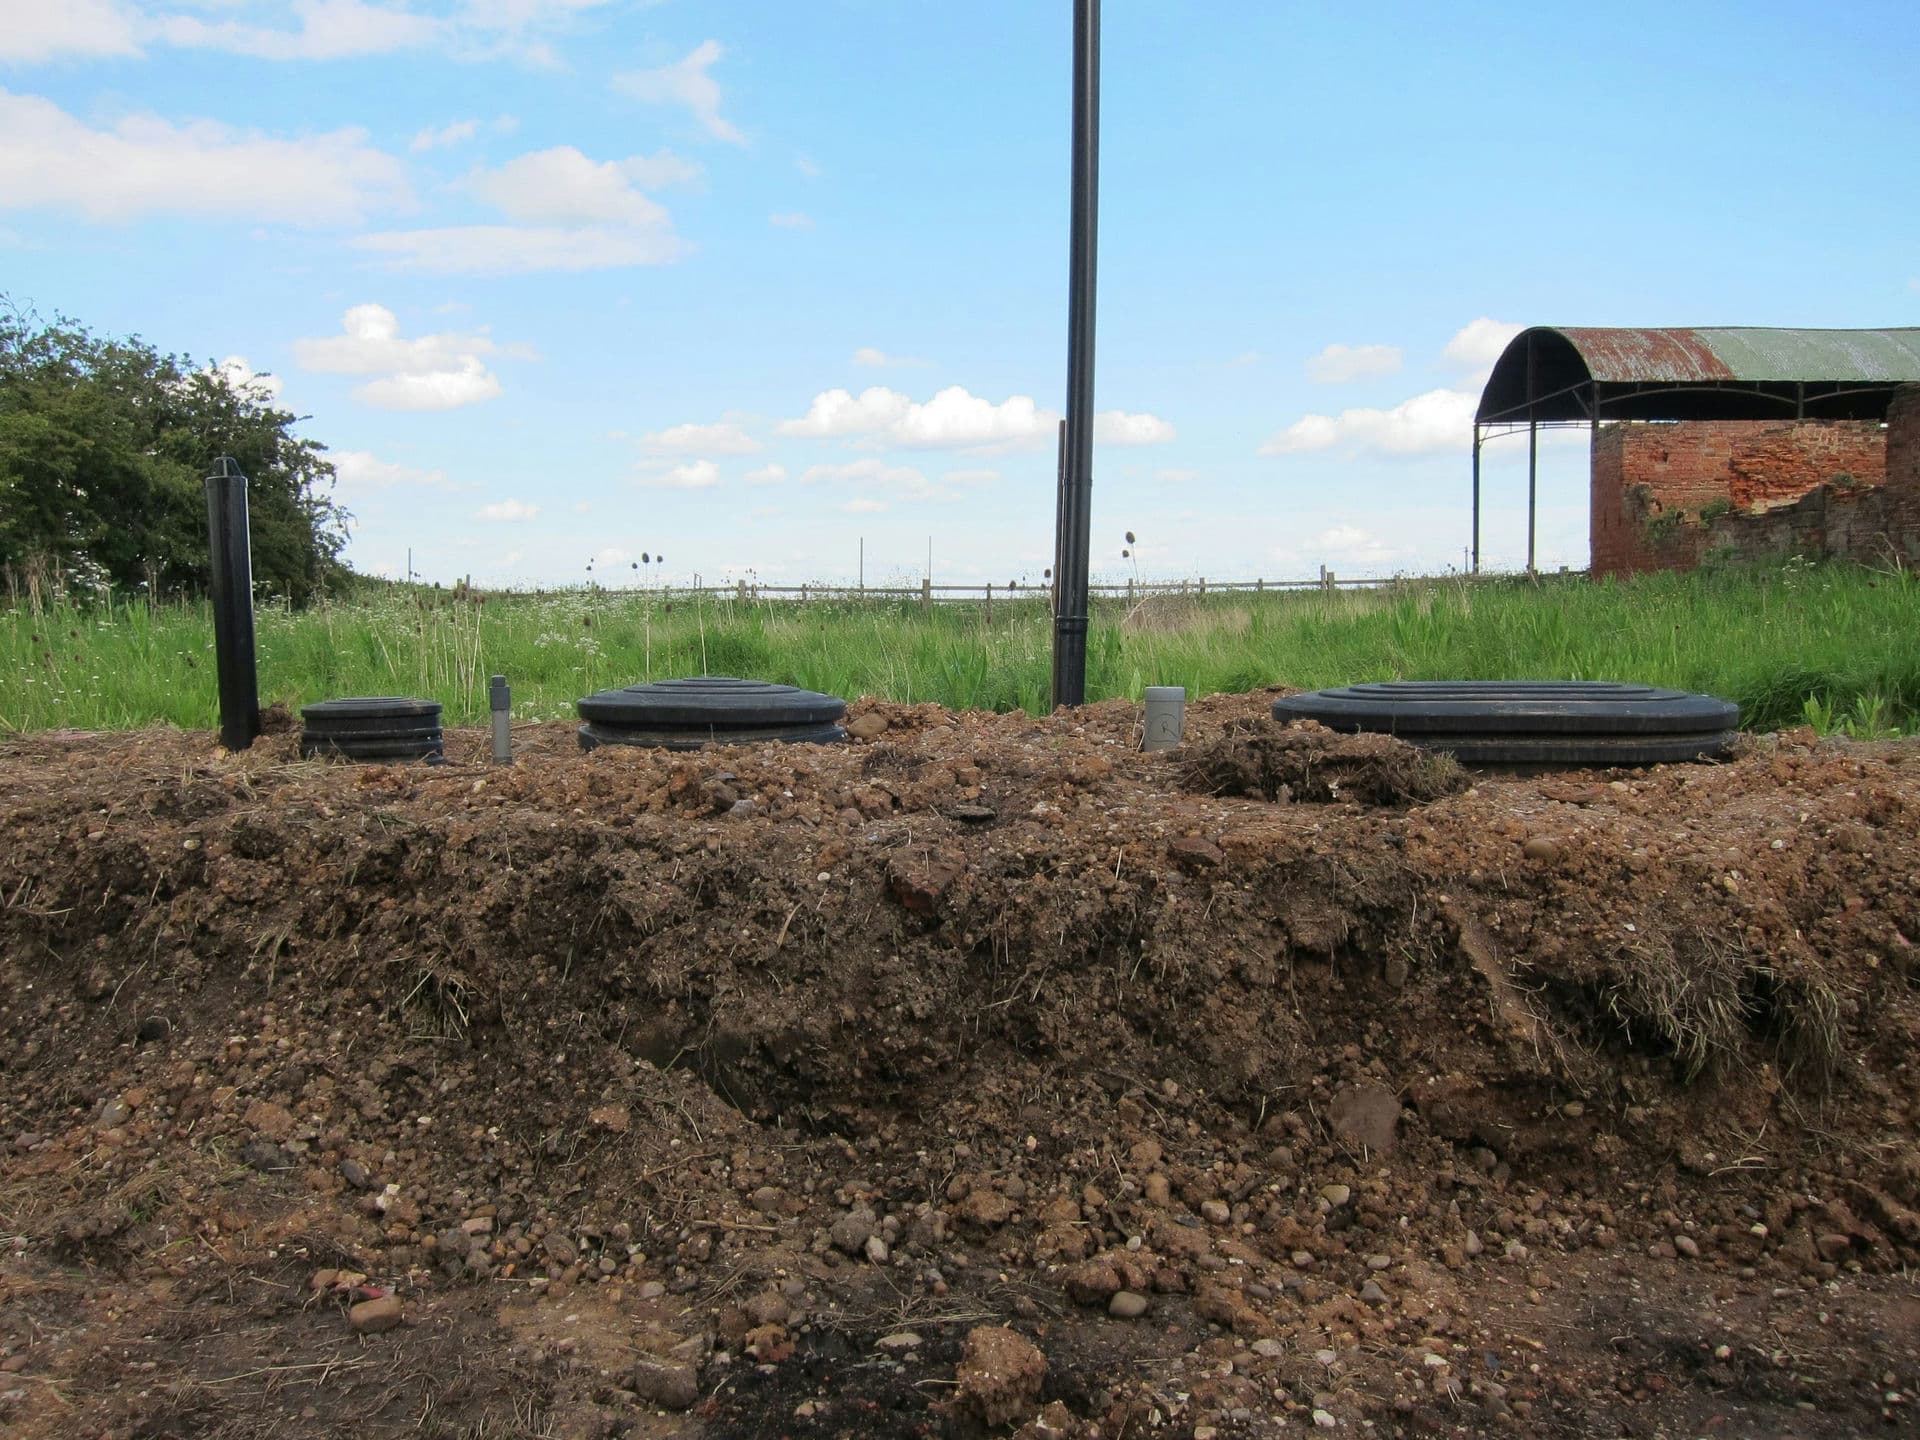
Once covered with soil up to what will become the new ground level the tanks look less prominent. From left to right, the visible features are:

There’s nothing much to see within the primary tank (it’s just a tank, with a baffle about 2/3 of the way along) but the BIOROCK unit is a little more interesting. Mike tells me the foam cubes come impregnated with a bacteria culture to kick-start the treatment process once they get wet.

While sewage treatment might not be the most exciting aspect of the new house this installation marks a milestone as being the first part of the permanent construction to be completed and so it feels like a pretty big deal.